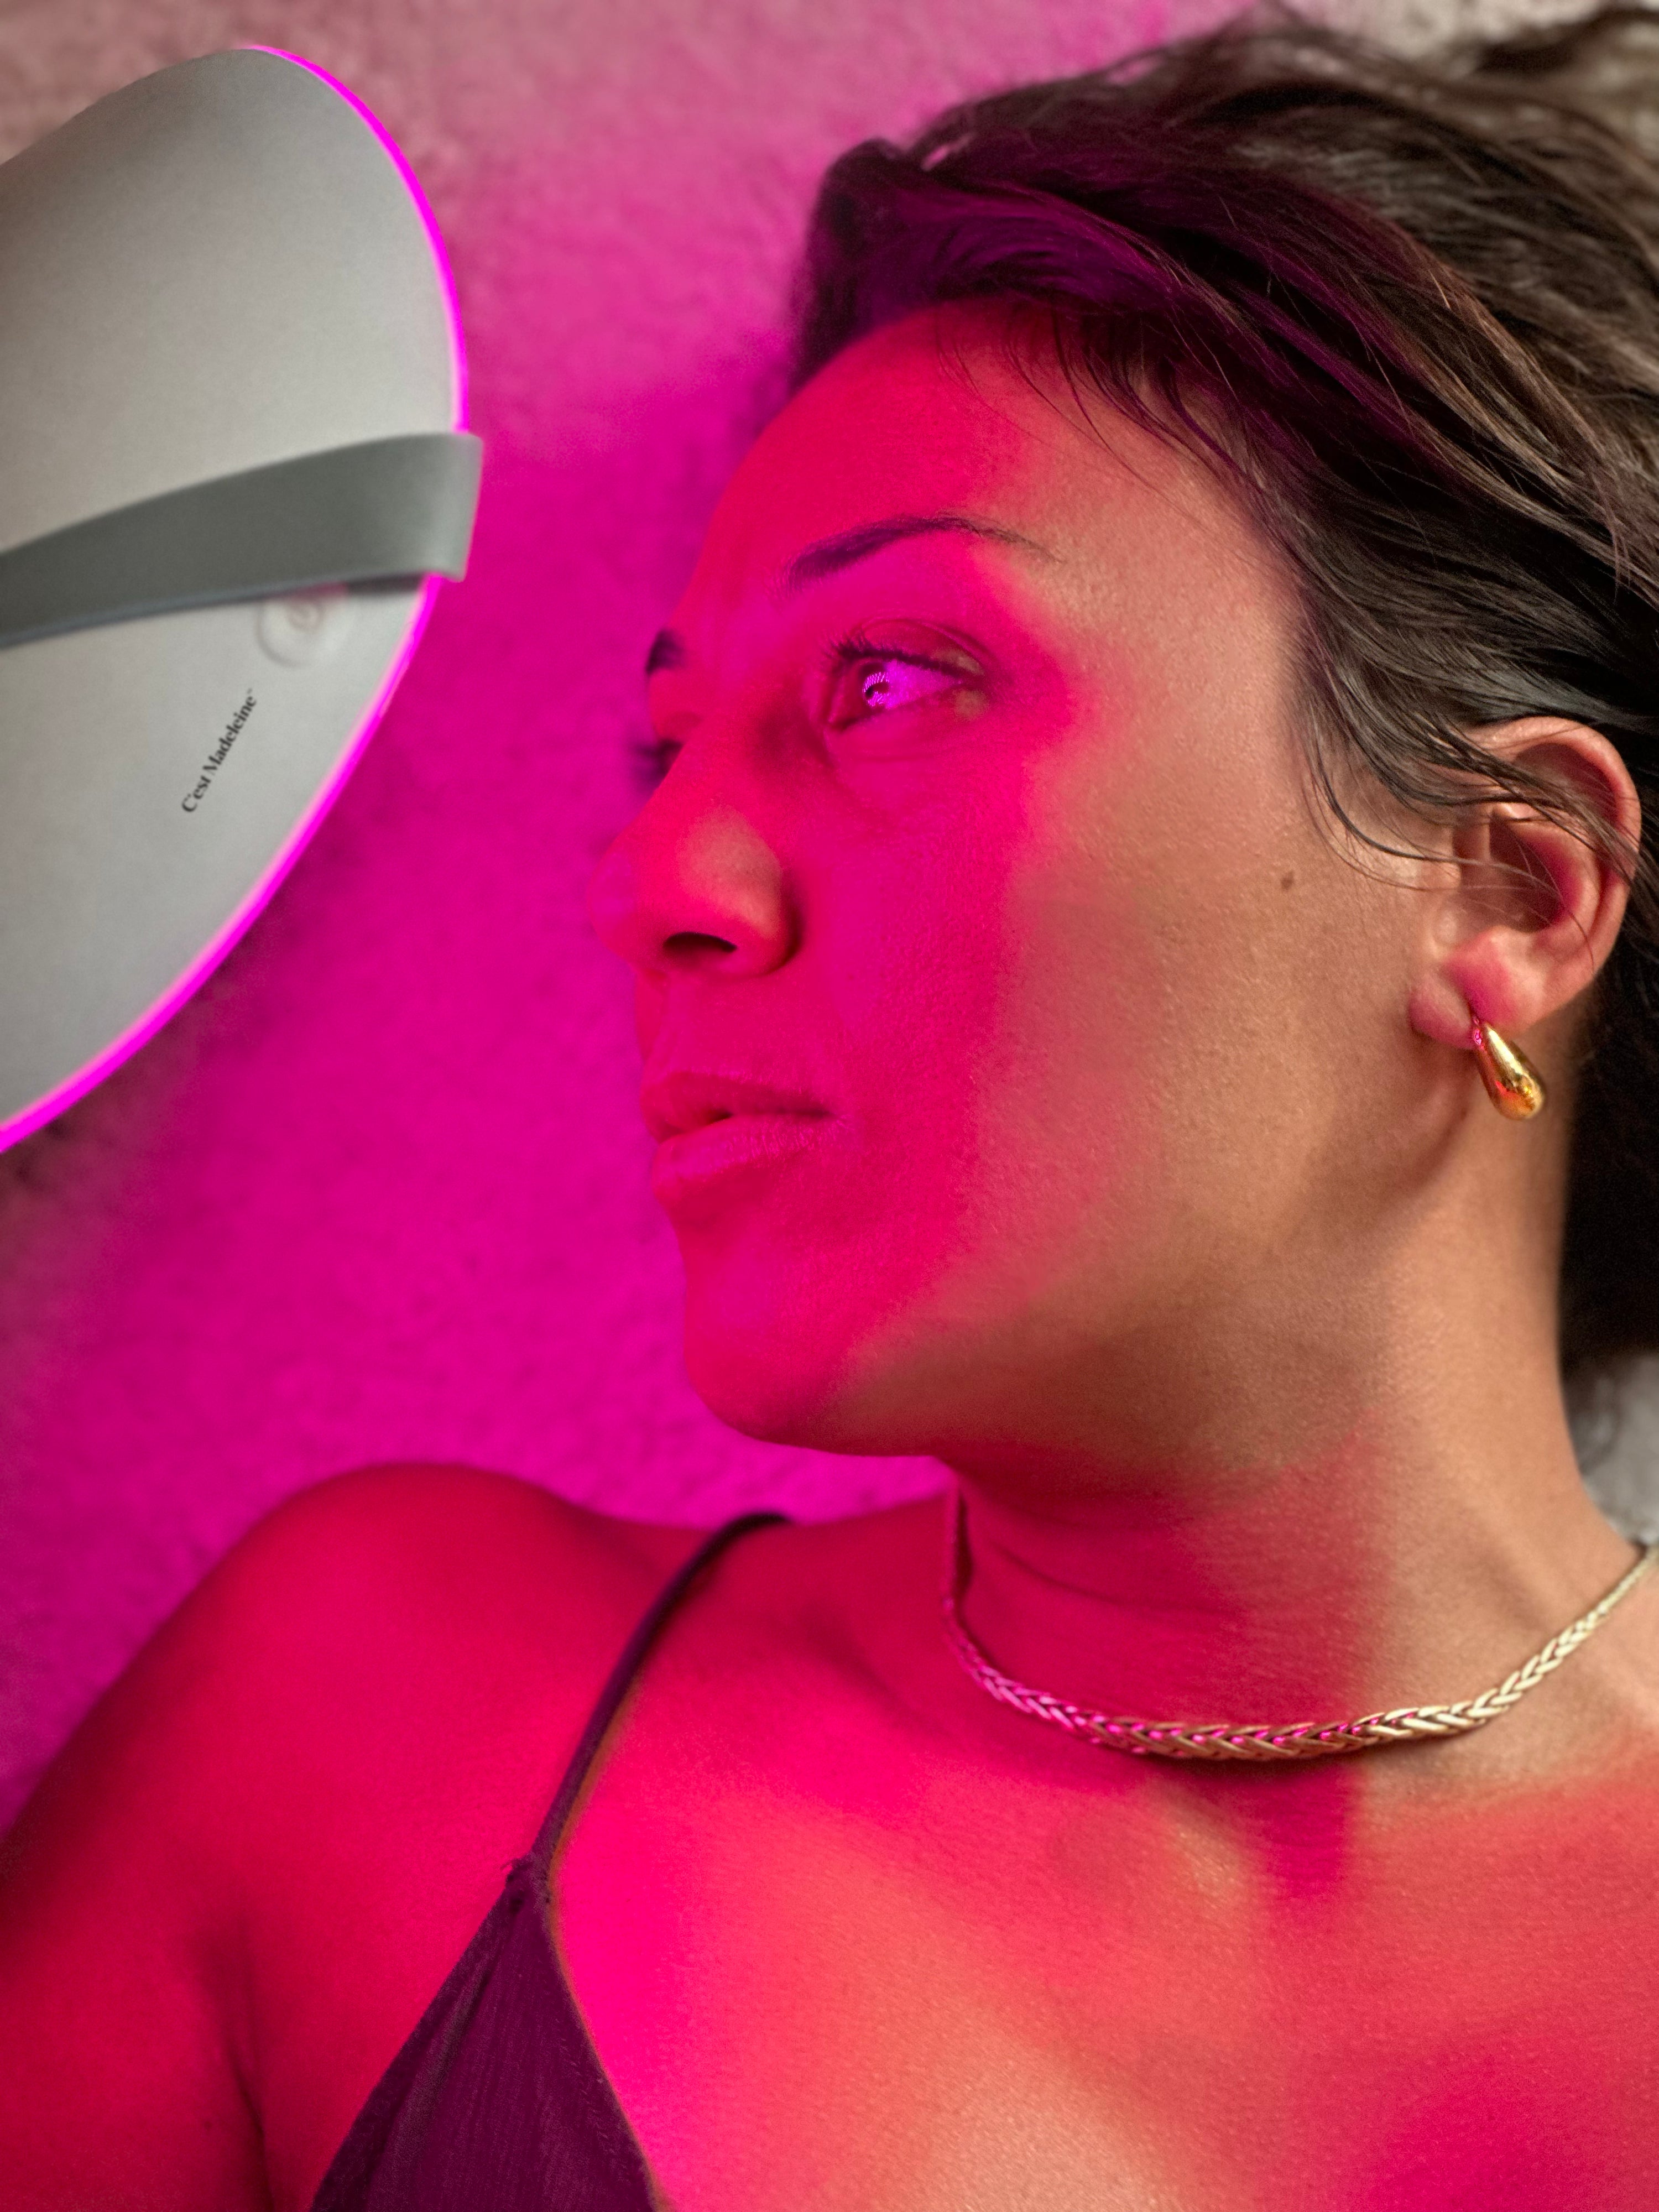
Step 1: Prepare Your Skin
To ensure the LED light penetrates effectively, it’s crucial to start with clean skin. Follow these steps:
- Remove makeup thoroughly to eliminate any impurities.
- Use a gentle cleanser suited to your skin type for a fresh feel.
- Apply a toner or a light hydrating lotion to soothe your skin.
- Results are best when using a hydrating serum (hyaluronic acid). Vitamin C or retinol-based serums should only be applied after your light therapy session, as they are photosensitive ingredients.
Step 2: Set Up the Mask
The Lumière mask features multiple light colors and intensities, each targeting specific skin concerns. Here’s how to choose:
- Red light: Boosts collagen production and reduces wrinkles.
- Blue light: Fights acne-causing bacteria.
- Yellow light: Soothes and brightens dull skin.
- Purple light: Calm inflammation, reduce blemishes, and clear pores effectively.
- Cyan light: For sensitive acne prone skin.
- White light (pink): Accelerated light therapy combining the benefits of red, blue, and green lights.
- Adjust the light intensity based on your comfort level.

Step 3: How to wear the mask
- Turn on the mask and select your desired treatment mode.
- Position the mask above your eyebrows, ensuring it is not too tight. Adjust the strap for a secure fit that is comfortable and avoids any skin irritation.
- Relax for 10 to 20 minutes. Feel free to read, listen to music, or meditate during the session.
Step 4: Follow Up with Post-Treatment Care
After removing the mask:
- Apply a serum or moisturiser to maximise the treatment’s effects.
- Avoid harsh or exfoliating products immediately afterward.

Tips for Best Results
- Use the mask 3 times a week for optimal results.
- Stay consistent, results are most noticeable with regular use.
With the Lumière LED mask, unlock brighter, firmer, and more radiant skin. Start using it today and elevate your skincare game!


